Soldering has been around for thousands of years and has been used in many different art forms. The first evidence of soldering techniques traces back to as early as 4,000 BCE in Mesopotamia and Egypt and was used for jewelry making and crafting decorative pieces. Today, soldering is present in our everyday lives. Stained glass artwork, jewelry, computers, phones, the list goes on.
It might seem daunting initially, but soldering can be a very enjoyable and relaxing hobby. In this article we will introduce you to the world of soldering and by the end of it, you will have the basic knowledge you need to pick up your iron and start soldering!
Now, let’s start with the basics. You will need:
- Soldering iron: for soldering
- Solder: for joining
- Flux: for enhancing the flow of your solder
- Cleaning sponge: for cleaning your iron
Soldering Iron
There are many options on the market and the iron you choose will depend on your needs. Irons exist at many price points, from $10 into the $100’s for larger soldering stations. In the beginning, you don’t need anything fancy.
You might be wondering “what’s the difference anyways?”. There are a few factors that separate the cheaper irons from the more expensive ones.


- Temperature Control
- The iron in the first photo is my husband’s very first soldering Iron. As you can see, there is no temperature control. You plug that bad boy in and what you get is what you get. Solder doesn’t always have the same melting point, some require higher temperatures than others so being able to adjust temperature is very useful.
- Some components like transistors and diodes are sensitive to prolonged heat exposure, so not knowing what temperature your iron is at can potentially ruin components and lead your build to not function once you’re finished.
- Iron Comfort
- It may seem silly, but if you’re sitting and soldering for a prolonged period of time as I often find myself doing, you want an iron that works with, not against you. I loved my Elenco iron but the cable was so thick and clumsy, it got in the way frequently and was a pain. Not the end of the world, but a nuisance if you’re working on a bigger project. You’re soldering because you want to enjoy yourself, if you wanted to wrestle with your equipment, you’d go fishing.
- Wattage
- This may be one of the most important factors to consider. As stated previously, the wattage is whats going to give your iron the power to get to temperature and stay there, irons with a lower wattage struggle to sustain the temperature needed to create a solid solder joint. Once the tip touches solder you have temperature loss, so you need to have an iron that can counter that effectively.
- Durability
- Consider how frequently you plan on soldering. If you’re going for a DIY kit every once in a while, then I’d shoot for something on the cheaper end. If however you’re considering repairing boards, de-soldering or just expect to be using your iron more, its worth investing in something that will stand the test of time and will be reliable.
- Pricier stations typically come with an assortment of tips that are of higher quality and last longer than cheaper options. I’ve been using the same solder tip on my Weller WES51 for the last 3 years and its still kicking somehow.
- At the end of the day, this is a piece of equipment, so things wear over time. Heating elements go bad, materials degrade with use, etc. Consider these points when purchasing.
Here at DIY Chris we have a slight bias in that we prefer Weller and Hakko brand irons. Chris and I both have the WES51 but I also have a WE1010s. Chris uses a Hakko FX888D and we both have Hakko de-soldering equipment. These irons are on the pricier side, but if you’re looking to be in this for the long haul and want more control over your iron, it’s worth the investment.
That being said, my first iron was a hand me down Elenco SL-5 and it worked just fine. It’s long since been retired, but it has seen many a board and solder. As referenced earlier, Chris’s iron didn’t have temperature control but as you can see, it was well loved. Ebay is a great place to check as well if you’re interested in purchasing something second hand and gently used, just be sure to read the description and don’t be afraid to ask questions.
Solder
What is solder anyway? Solder is a fusible metal alloy, meaning its a mixture of chemicals, at least one of which being metal, that can be easily melted. The solder you’ll be using is called soft solder and has a melting point between 90℃ – 450℃ or 190℉ – 840℉.
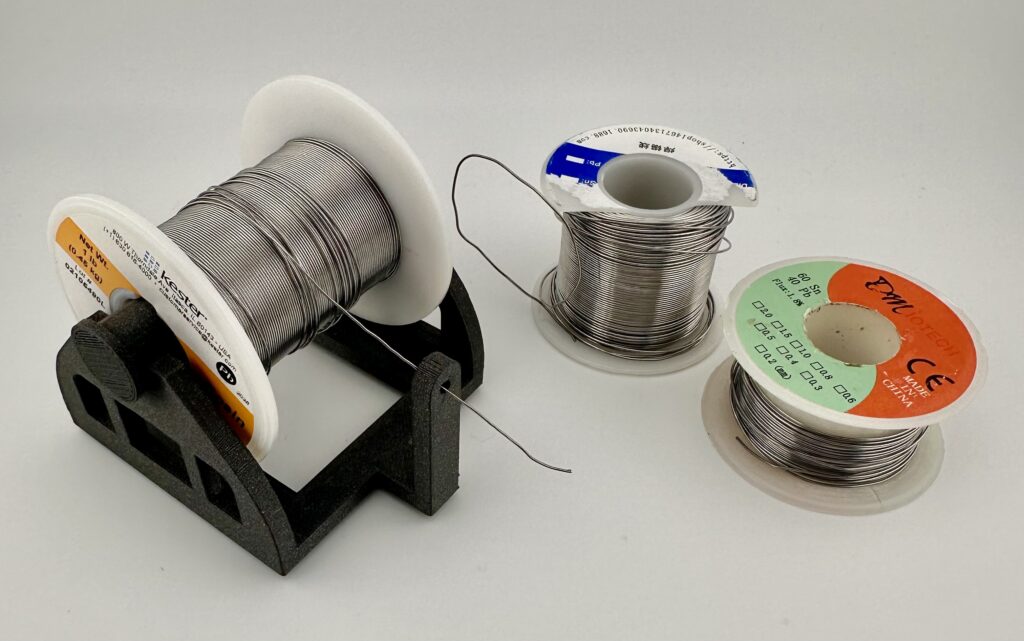
Nowadays, most solder wether its leaded or unleaded comes with a rosin core, meaning it has a strip of rosin built right into the solder. This increases the wetting properties of the solder and negates the need to coat a solder pad with flux prior to soldering. Unfortunately this does leave quite a bit of residue behind and may require cleaning. There are two main solders to choose from, leaded and lead free solder. Below are some pros and cons for both.
Leaded Solder
- Pros:
- Lower melting point
- Excellent wetting properties, great for a solid solder joint
- Less brittle
- Cons:
- Lead is toxic if ingested
- It is not RoHS compliant
- Not available in some areas
Lead-Free Solder
- Pros:
- Environmentally friendly and RoHS compliant
- Healthier to work with
- Long term viability as it is most likely to become the industry norm
- Cons:
- Higher melting point
- Potential for brittle joints
- Often requires more flux
- Not great for reflow techniques
Here at DIYChris, we use Kester brand rosin core solder and perform a thorough cleaning on all products before testing and shipping them. Consider your own personal needs when choosing your solder, opting for a cheaper solder for the occasional project is perfectly fine. I personally used an off brand $6 solder offered at my local electronics shop up until I upgraded two years ago. Lead free solder can be more difficult to work with so I personally do not recommend it to beginners.
Flux
Flux is a chemical compound that promotes wetting and allows the solder to flow. It helps to protect against oxidization and aids in heat transfer. There are a few options when it comes to choosing your flux, so here are some pros and cons for the three main option
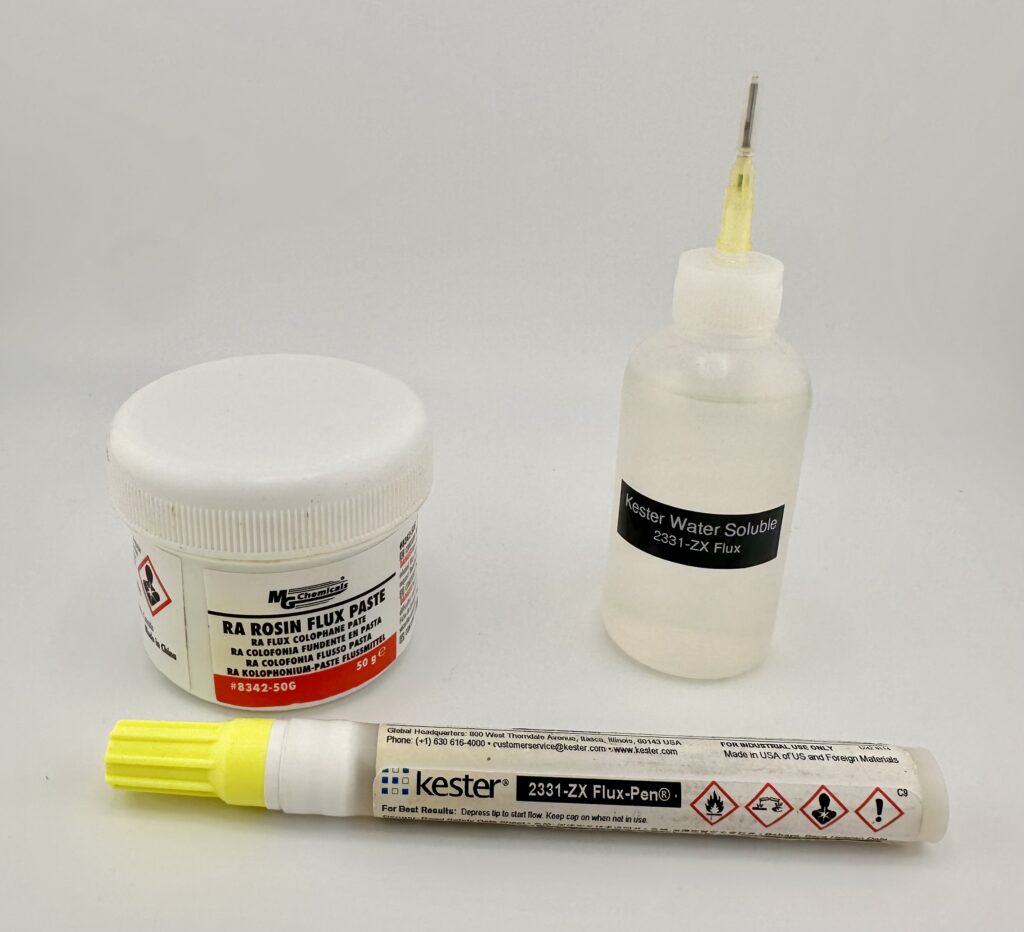
Rosin Flux
- Pros:
- Great for removing oxides and contaminants
- Leaves little residue after soldering
- Versatile
- Cons:
- Not suitable for all metals
- Not ideal for high temperature applications
- The cleaning and wetting abilities aren’t as robust as other types of flux
Water Washable Flux
- Pros:
- Great for removing oxides and contaminants
- Residue left behind is easily cleaned with water
- More environmentally friendly
- Versatile
- Cons:
- Requires a post-soldering cleaning process
- If not cleaned properly, the residue left can cause corrosion
No Clean Flux
- Pros:
- No post-soldering cleaning
- Reliable joints
- Suitable for many applications
- Cons:
- Can leave residue in high precision applications
- Can oxidize
- potential for dull solder joints
- Reworking can be difficult
We personally have many small bottles of Kesters water soluble 2331-ZX flux lying around, as well as a few containers of rosin flux. Just because you use rosin core solder doesn’t mean you won’t benefit from also using another form of flux, especially when working with SMD components or smaller solder pads. Flux also aids in preventing solder bridges, as long as you have a good reliable cleaning method, theres no such thing as too much flux.
Cleaning sponge
I’m sure you’ve seen soldering stations sporting either what appears to be a kitchen sponge or brassy steel wool, or sometimes both. When soldering, it is important to clean off your tip periodically. As you’ll see, the tip will retain some oxidized matter as you work which will inhibit heat transfer and repel solder. Your options for cleaning are a wet sponge, and a brass sponge. Don’t let the wet sponge fool you, a regular kitchen sponge cannot handle the high temperatures so a proper soldering sponge is necessary. Steel wool is also not recommended.
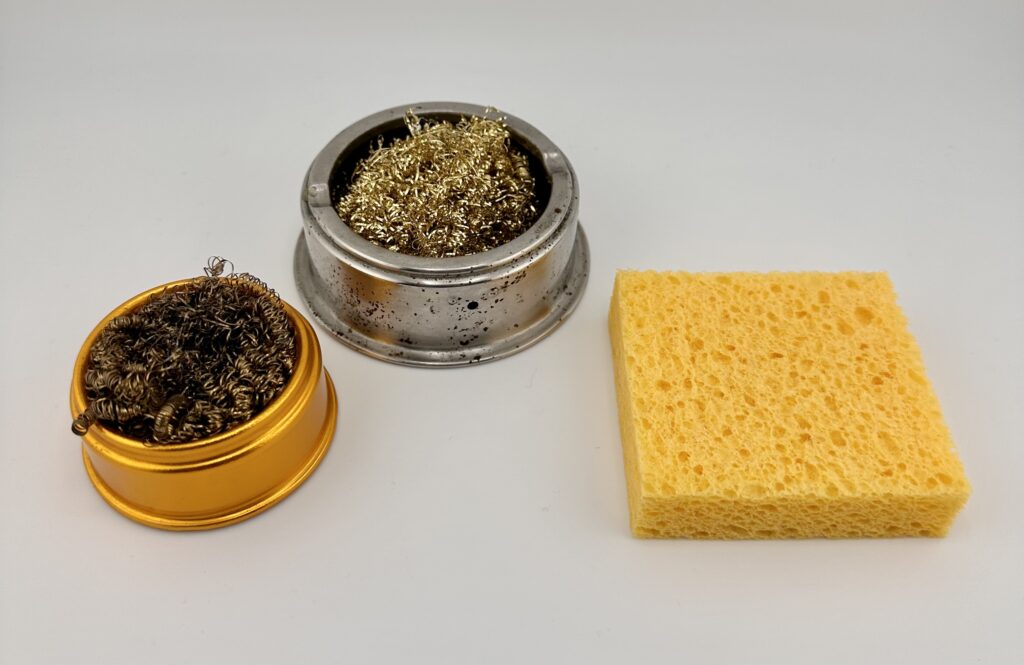
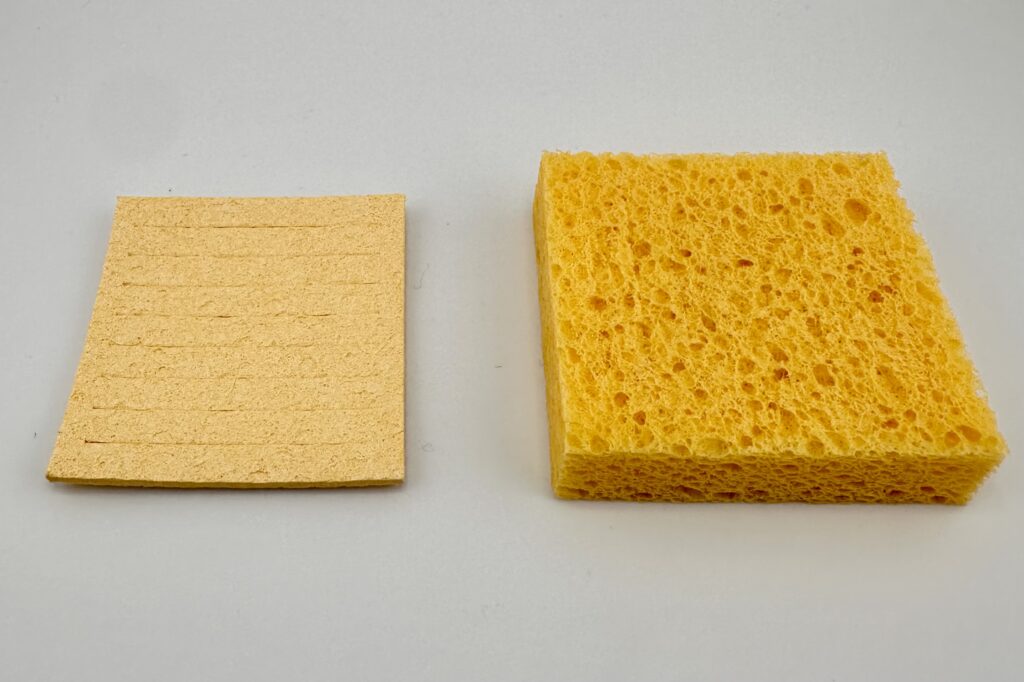
Wet Sponge
- Pros:
- Non-abrasive
- Cheap, simple, effective
- Cons:
- Drastic temperature changes from water use shocks the tip and can damage it over time
- Must ensure the sponge is damp
Brass Sponge
- Pros:
- Good for a more thorough cleaning
- No need for wetting
- Cons:
- More abrasive
- More expensive
You could opt for both as well, it’s nice to have a variety of options available.
Miscellaneous Tools
Depending on what you’re working on, you may require some additional tools. Below is a list of the tools we have on hand.


- Side cutters: For trimming leads on components, wires, etc
- Solder sucker: Everyone makes mistakes, a solder sucker is an excellent and relatively cheap tool to have just in case.
- Thin tweezers: A must have if working with SMD components, albeit SMD components are not recommended if you’re just starting.
- Trimmed course paintbrush: Purchasing some course art paint brushes from the craft store and cutting the bristles to about 1/4″ gives you a great tool for removing debris, applying flux paste to de-soldering braid, and much much more.
- Desoldering braid: Excellent for cleaning up solder after desoldering, I use my brush to apply flux paste before desoldering.
- Needle-nose pliers: Excellent for bending component leads
- Circuit board holder: Great for keeping the board in one place and giving access to both sides simultaneously
As you continue on your soldering journey, you’ll find what your preferences are and come up with your own must have tools.
Now that we know the basic tools we need, now we need something to solder!
DIY Kits
Now that we know the basic tools we need, now we need something to solder!
Below are a few DIY Kits as well as practice boards to help you get the hand of working with your new tool. Before I got my hands on a DIY kit I spent hours soldering resistors into prototype boards. My first DIY Kit was the Elenco radio below, it was an excellent beginners kit and it still works today! All of the kits I am putting below are ones I have done personally and enjoyed doing.
I highly recommend purchasing some blank prototype boards first to practice on, get used to the feel of your iron and seeing how the solder flows, experiment with flux and get to know your iron. It might seem silly and like a waste of time, but it takes practice to get a solid solder joint every time.
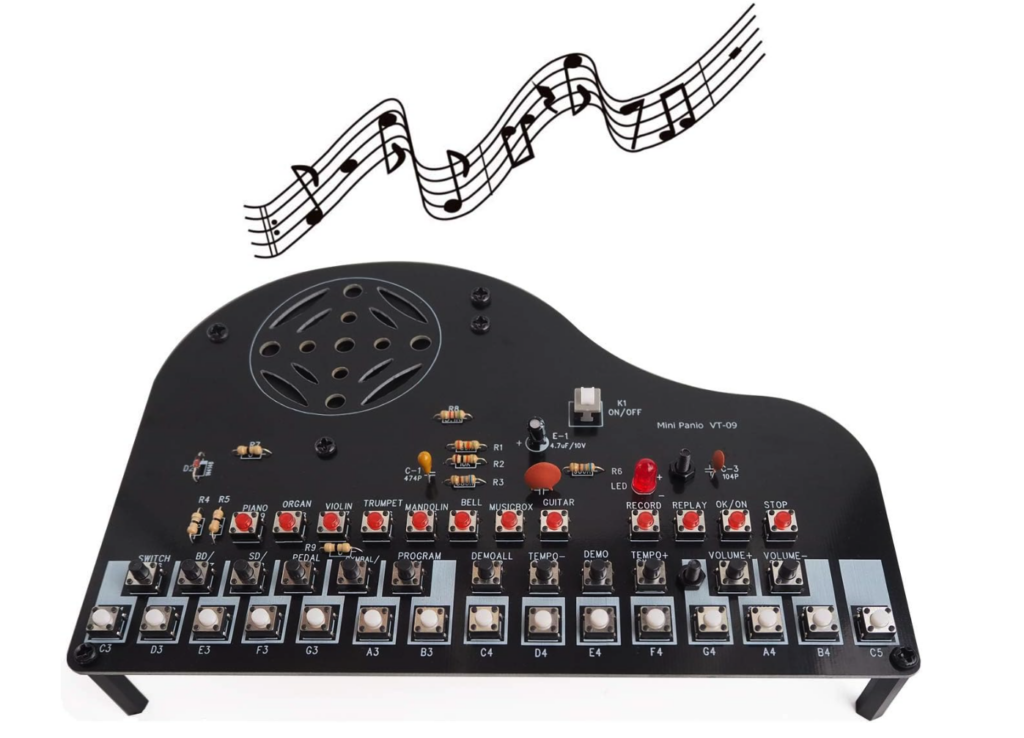
DIY Piano Soldering Project Kit Electronics Solder Practice Kit by VOGURTIME, Great STEM Project and Gift, Multi-Function
This kit is one I did very recently, It has a lot of tactile switches which are great for beginners since they tend to stay in place and are not polarized. The instructions sheet was very thorough and the packaging was impressive, we might take a few pointers from it!
It’s a fun little project and in the end, you have a working 15 key piano!
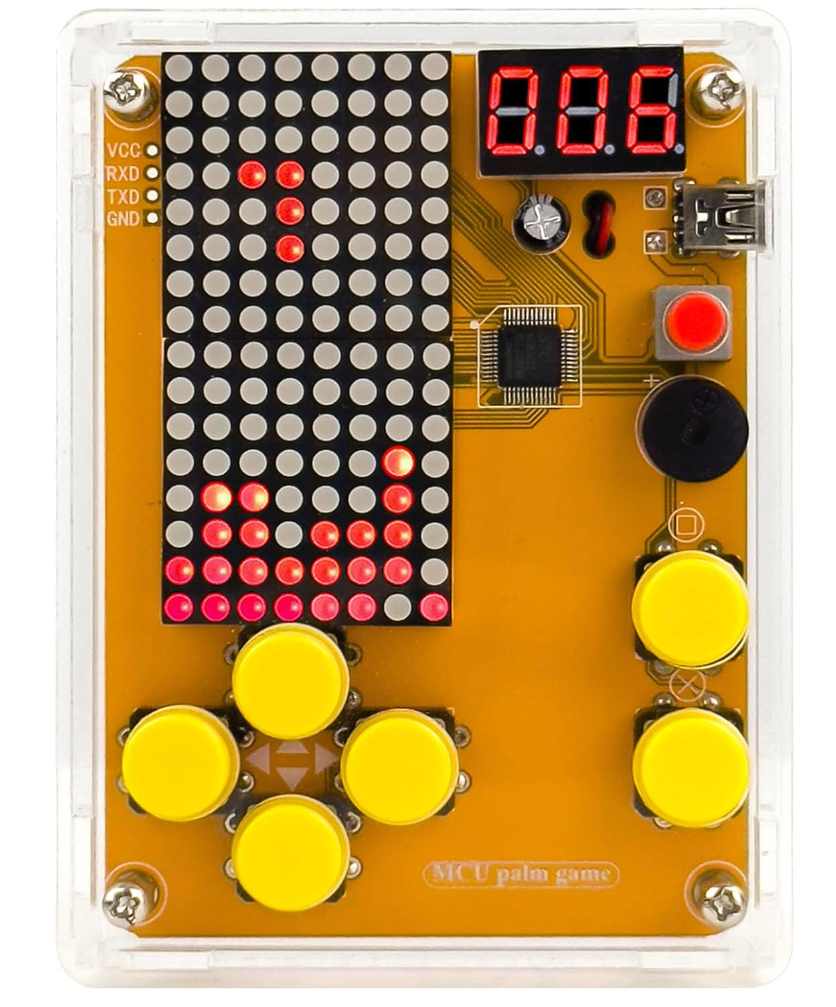
DIY Soldering Project Game Kit Retro Classic Electronic Soldering Kit with 5 Retro Classic Games and Acrylic Case, Idea for STEM High School Family Education Friends by Etoput
This is a kit I received for Christmas a few years back, it’s a very simple build with the exception that the LED matrix is two parts so you have to be sure you place it correctly. It was a little temperamental for me but I got it placed and it looks seamless. There isn’t much to be soldered but it’s a nice little build.
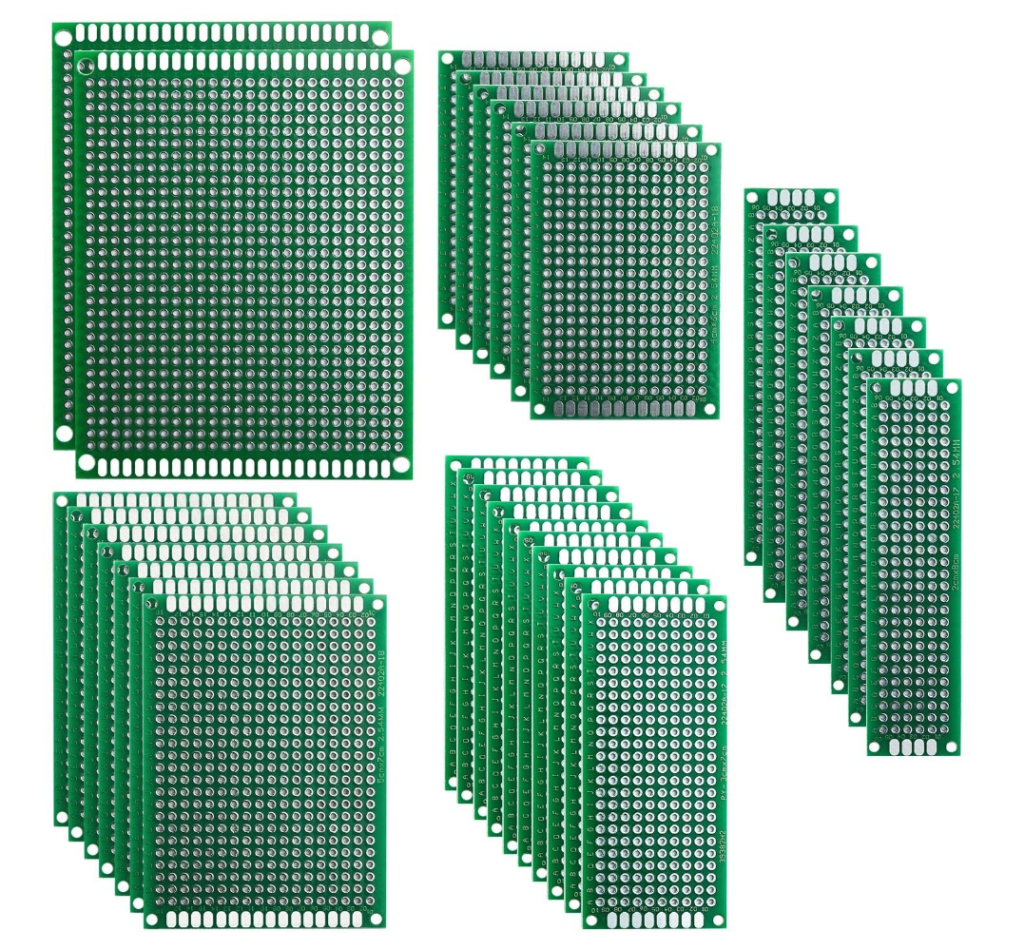
ELEGOO 32 Pcs Double Sided PCB Board Prototype Kit for DIY Soldering with 5 Sizes Compatible with Arduino Kits
Theres no shame in practicing before committing to a kit! Pick up a pack of resistors, these will work just fine, and get to soldering! The very first thing I ever made was a resistor heart for my husband on a prototype board. From then on I was hooked. Another way of practicing is to desolder old boards that would otherwise be in the trash. I spent a solid few months de-soldering board after board, just to have something to mess with.
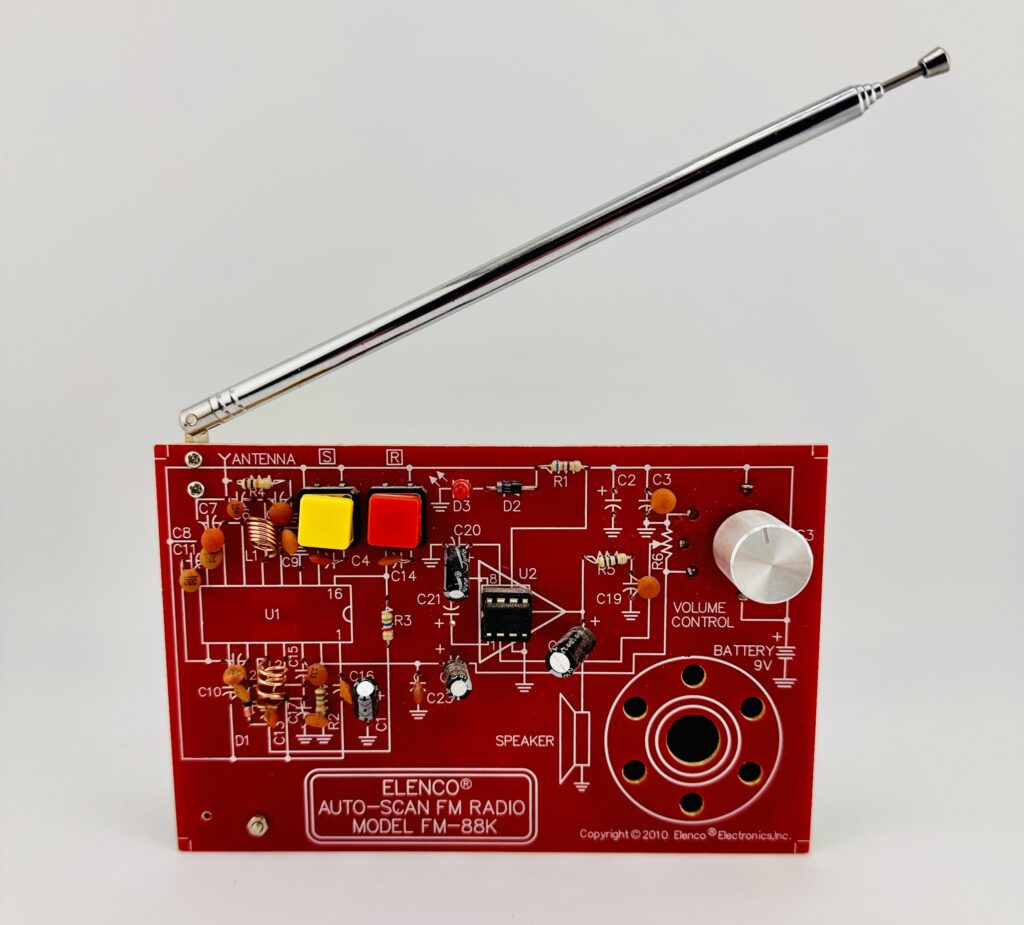
Elenco FM Radio Kit
This radio was my very first DIY kit, it was a Christmas gift in 2018. I had been begging my husband to teach me for a while at this point and he finally gave in. Little did he know he’d created a monster, I was hooked.
This was a few years back so I don’t quite remember everything, I can say as someone who had only worked on prototype boards up to the point of building this I was able to figure it out and this radio still works today. It shows all the components and their respective labels, and has a very nice variety of components to be soldered. It did come with an instruction booklet which was thorough.
Below are a few DIY Chris brand DIY kits.
Arduino Through Hole Edition DIY Kit: The Arduino Through Hole Edition is a special version of the Arduino UNO that can be built using nothing but through hole components, making it a perfect DIY kit for anyone looking to brush up on their soldering skills while building a useful device that can be used to build many more fun projects.
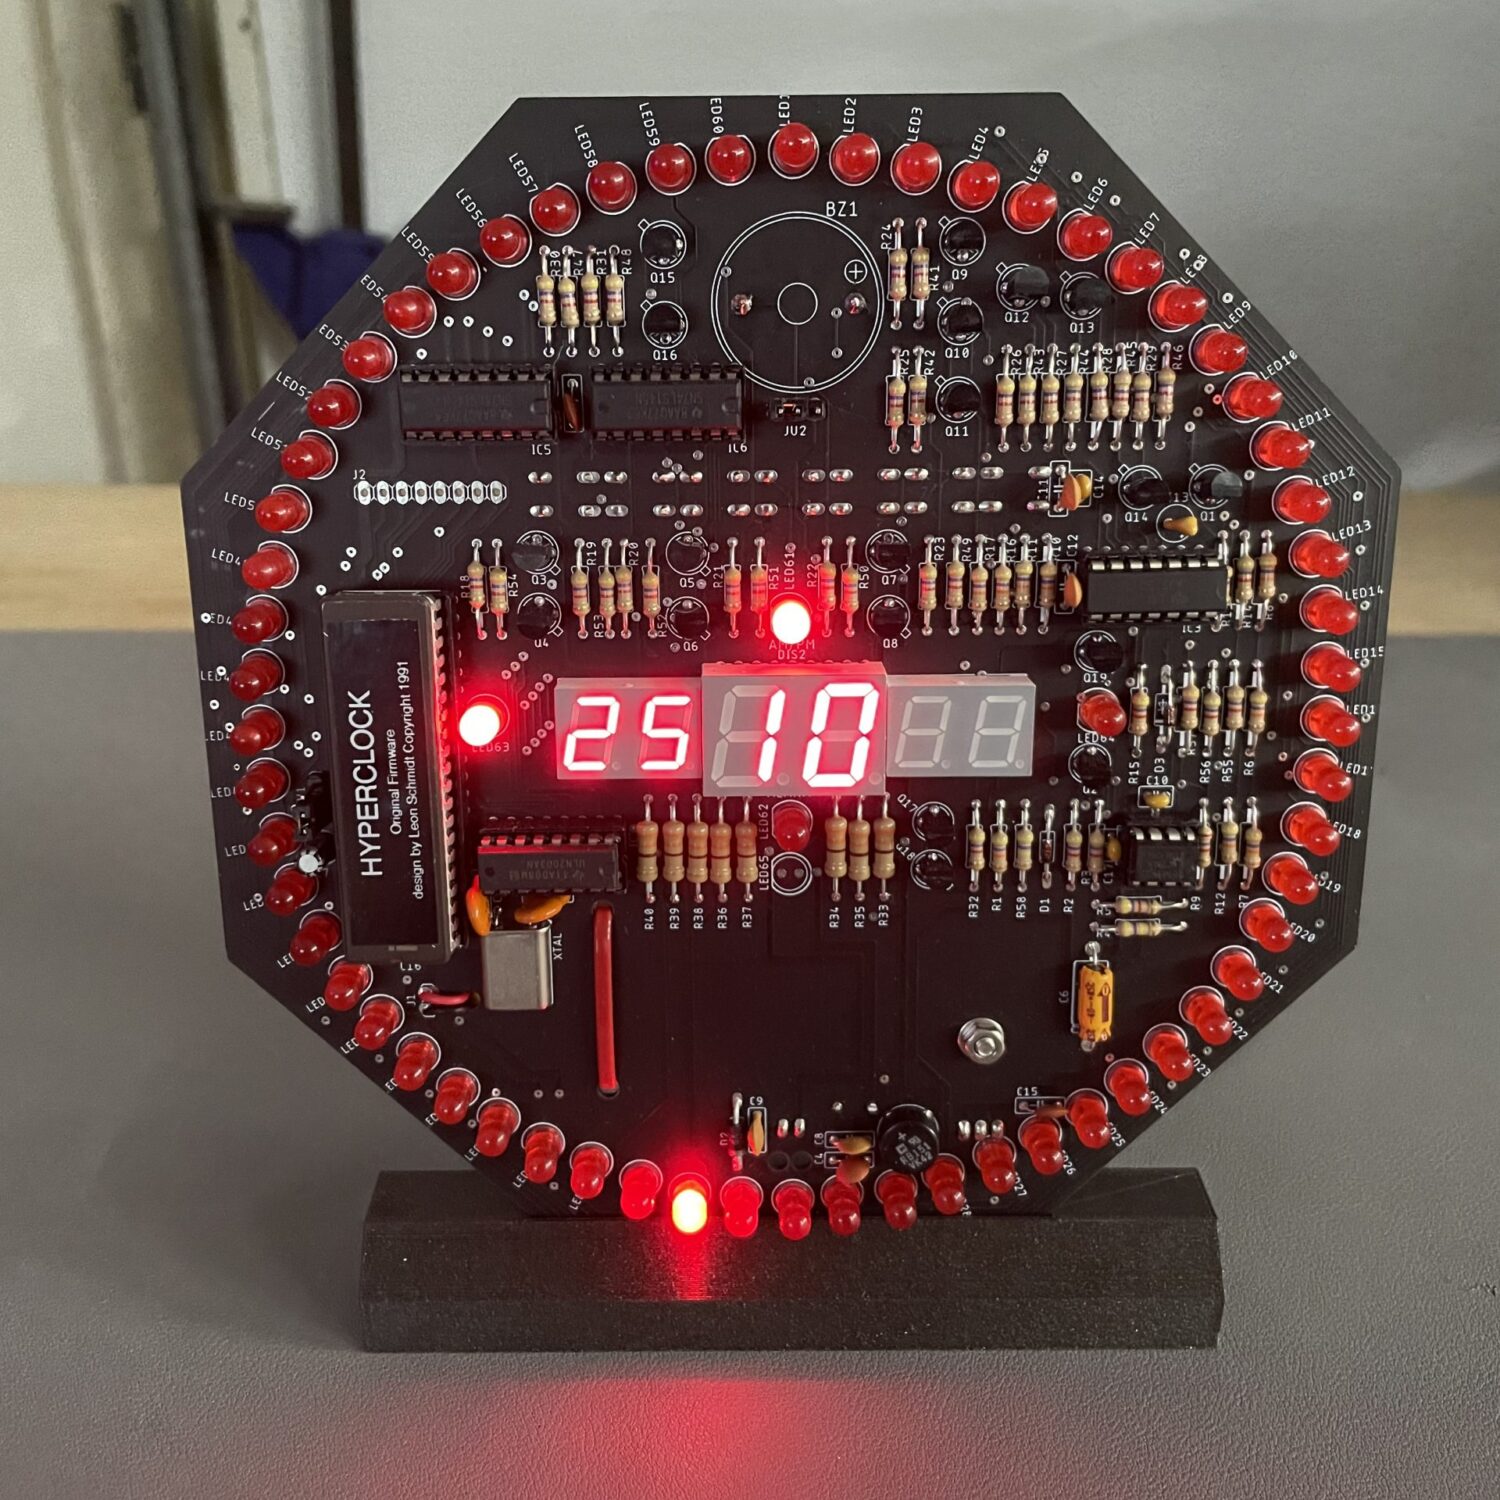
HyperClock: The Hyperclock was originally a DIY project from a Radio Electronics magazine from the 90s. Permission has been granted by the original creator, Leon Schmidt to recreate and sell the kit once again. We wanted to be sure there were thorough instructions, so each Hyperclock comes with an instruction booklet, completely illustrated by yours truly. It’s a little more high level than the other kits on this list, but once you get comfortable and are prepared to solder 64 LEDs it’s a really fun and unique build.
The “Giant” Discrete 555 Timer by DIYChris: Have you ever wondered what the inside of one of those little 555 timer IC’s looks like? Your wait is over. With this kit, you’ll be able to construct your very own 555 timer. Warning, its footprint will definitely be larger. As you piece this thing together, think about how amazing it is that all of this circuitry actually fits into one of those tiny little packages.
This kit contains a LOT of transistors, so make sure you pay attention to orientation and labeling. Transistors are sensitive to prolonged heat exposure so keep this in mind when soldering.
-
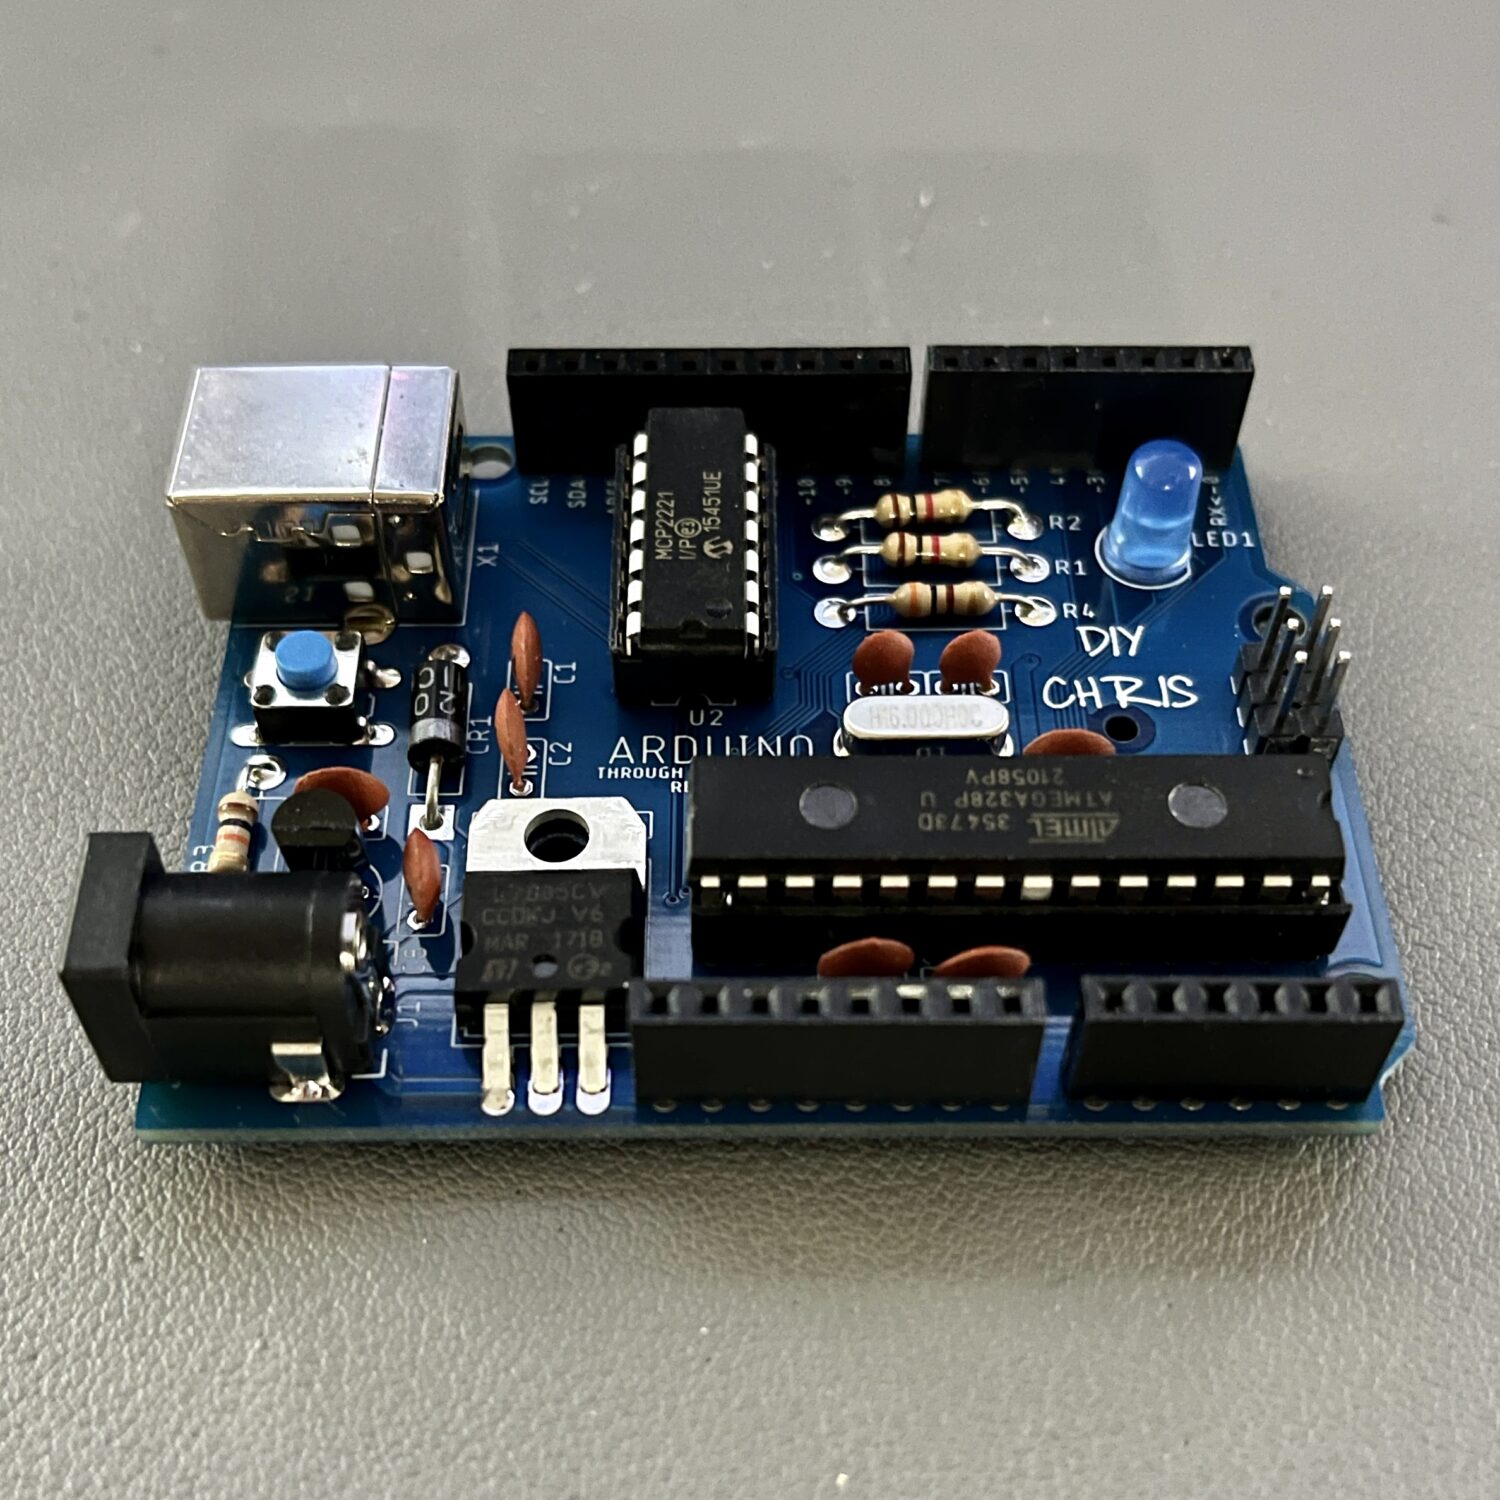 Arduino Through Hole Edition DIY Kit$9.95 – $39.95
 -
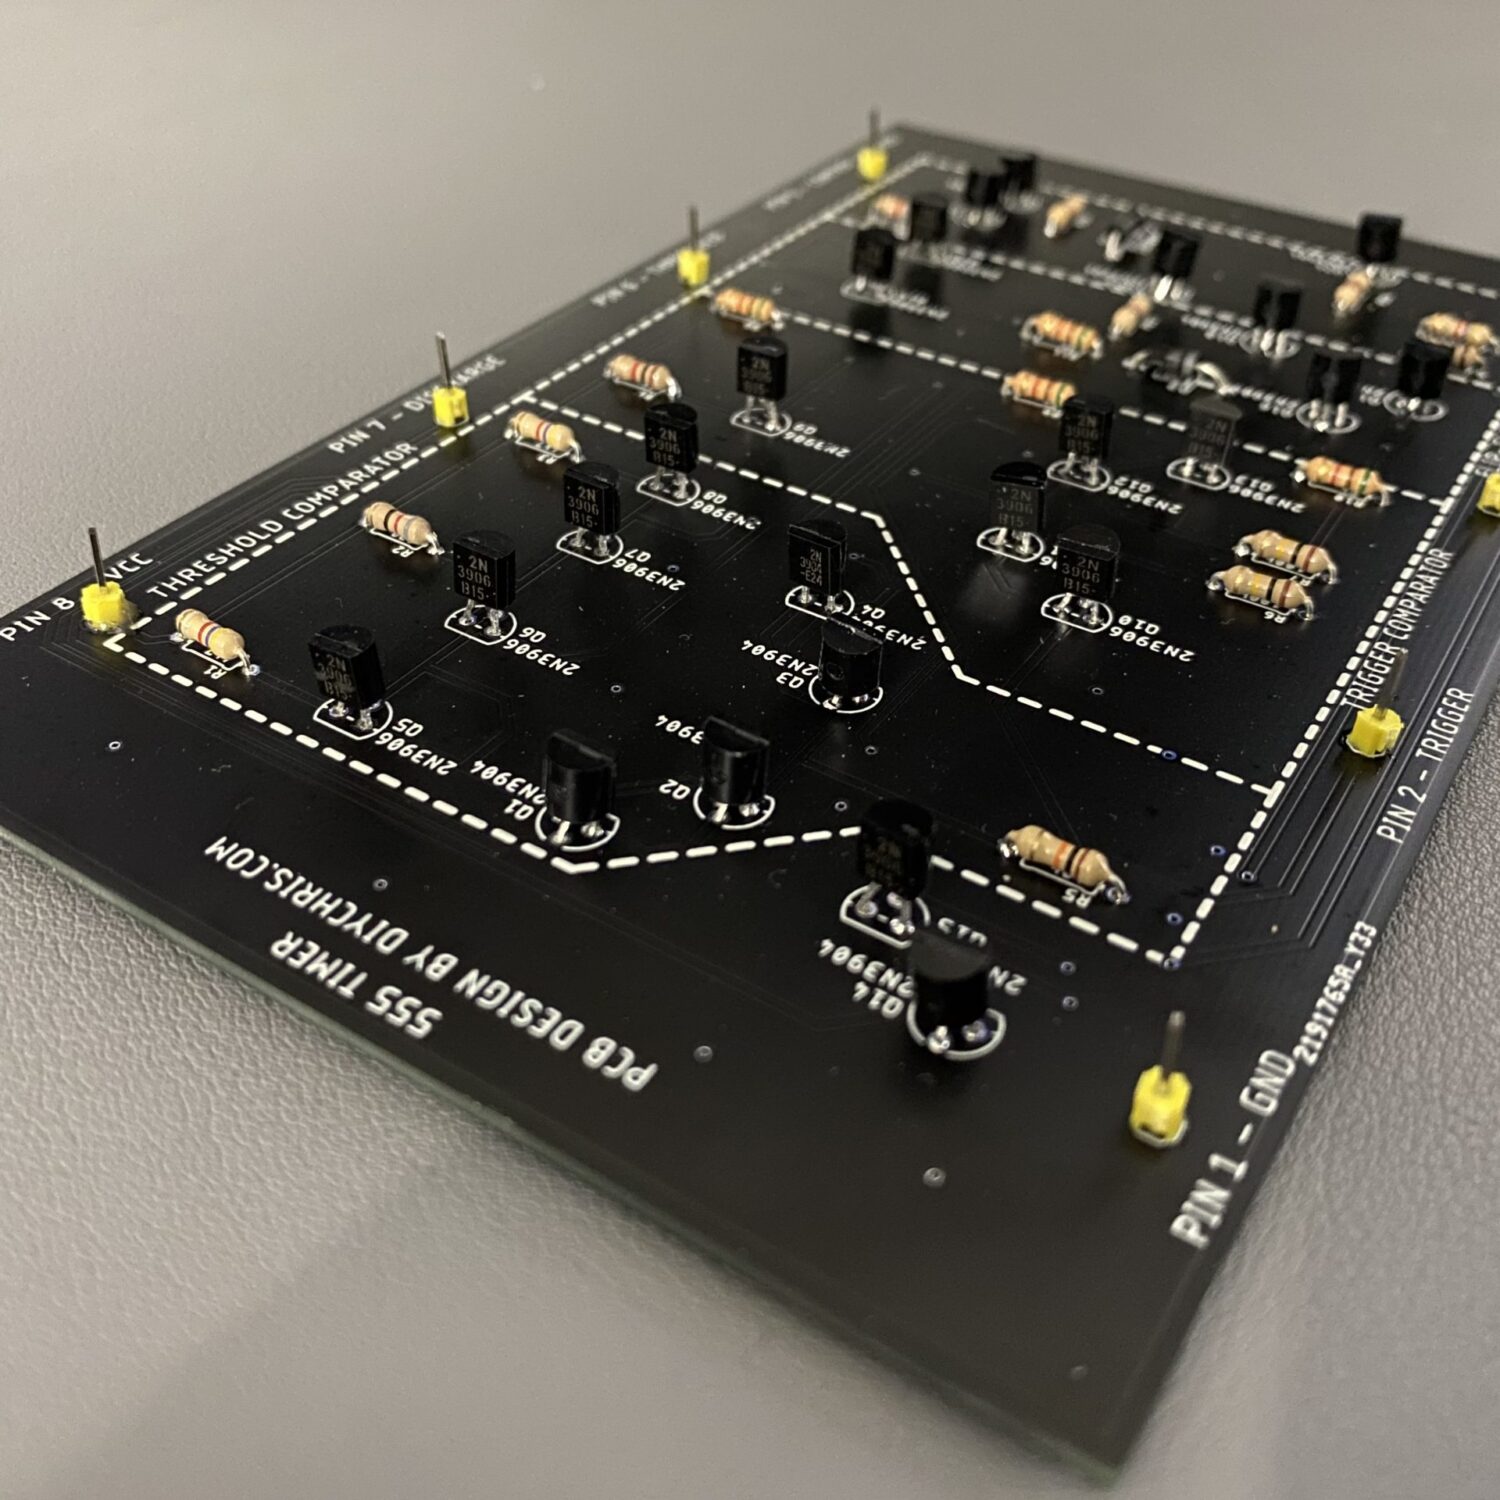 The “Giant” Discrete 555 Timer by DIYCHRIS$20.00 – $45.00
Conclusion
As you embark on your soldering journey, it’s important to consider your preferences, project requirements, and budget. Consider how frequently you see yourself soldering when purchasing your equipment, there’s no need to purchase a top tier iron if you’re only planning on soldering once in a blue moon. We all started somewhere, as you progress you will find the things that work best for you and your style.
There are many resources and communities available to aid you in your journey and answer questions you may have. Here is a link to our DIY Chris Forums where you can ask questions and our community will offer support. We also have a Discord server that is very active.
Stay tuned for the next article in this series, “Intro to Soldering: Learning to Solder”.


0 Comments for “Intro to Soldering: Soldering Fundamentals”